Neural Designer comprises a window to edit your settings, an artificial intelligence engine to perform neural network computation, and another window to see your output:
Editor window
When opening Neural Designer, the editor window is shown. This component lets you create and set your projects. The following figure shows the start page of the editor window.
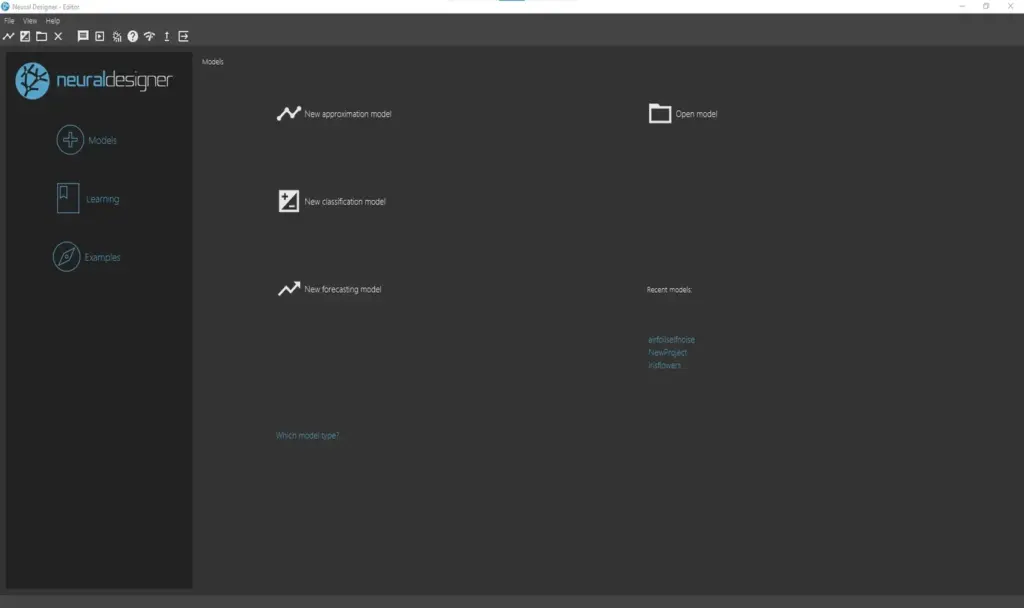
The Projects panel allows you to create a new approximation or classification project or open an existing project. More information about approximation and classification tasks can be found in the Neural networks applications article.
The Tutorials panel redirects you to the online 7 step neural networks tutorial.
The Examples panel opens worked projects made with real data. All of them are documented in the Neural Designer Examples section.
Opening, for instance, the iris Flowers example, shows the editor window’s main view.
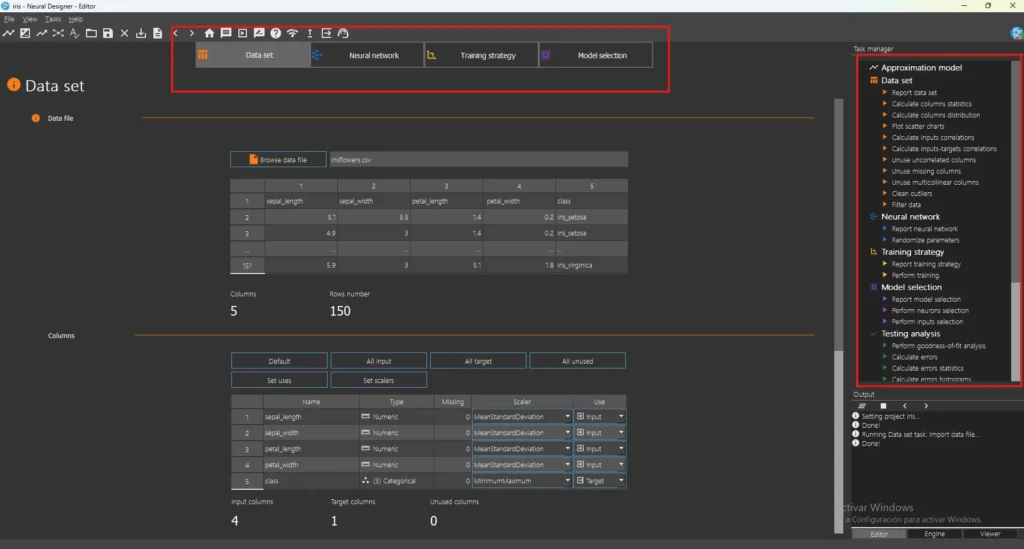
As we can see, Neural Editor has three panels:
- A data book with data set, neural network, training strategy, and model selection tabs. It contains the settings for all the components needed to solve a given application. Default values for all the settings are provided by the software when specifying the data file to work with.
- A task manager with data set, neural network, training strategy, model selection, testing analysis, and model deployment tasks. It contains a list of tasks for each component to be run by the artificial intelligence engine. Some tasks need additional information that is required of the user via dialogues.
- An output pad for the editor, the engine, and the viewer. Most information, warnings, and error messages will appear here.
Artificial intelligence engine
The artificial intelligence engine allows you to run tasks. That application does not have any windows, but it runs processes in the background. Tasks are called from the task manager in the editor window.
Viewer window
The viewer window shows you texts, tables, and graphs you create by running tasks. It is started automatically when running any task from the editor window. Running, for example, “Plot scatter charts” in an approximation project, opens the viewer window with the corresponding results.
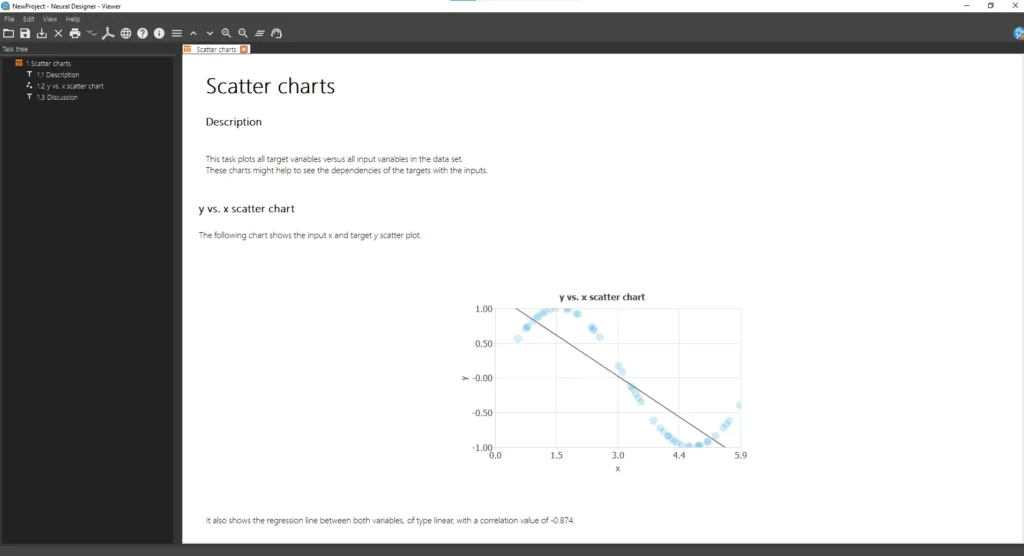
As you can see from the figure above, the viewer has two main panels:
- A tree view with the index of the report.
Every section corresponds to a task run by the engine (but the project description, can be edited in the editor).
Each subsection corresponds to a single description, table, chart, etc. - A content panel, which collects your descriptions, tables, graphs, etc.
You can also start the viewer window by opening the output file you must work with (.ndo file).
Neural Viewer also allows you to export your results to a PDF file or print them. Also, you can export any table and graph as PNG or CSV by right-clicking on it.
Explore the power of Neural Designer: