This User’s Guide aims to help you use Neural Designer in the cloud with the Amazon Web Services marketplace.
Subscribing to Neural Designer
Go to the Neural Designer page in AWS. You can choose the BYOL option if you already have a Neural Designer license or the free trial if you don’t.
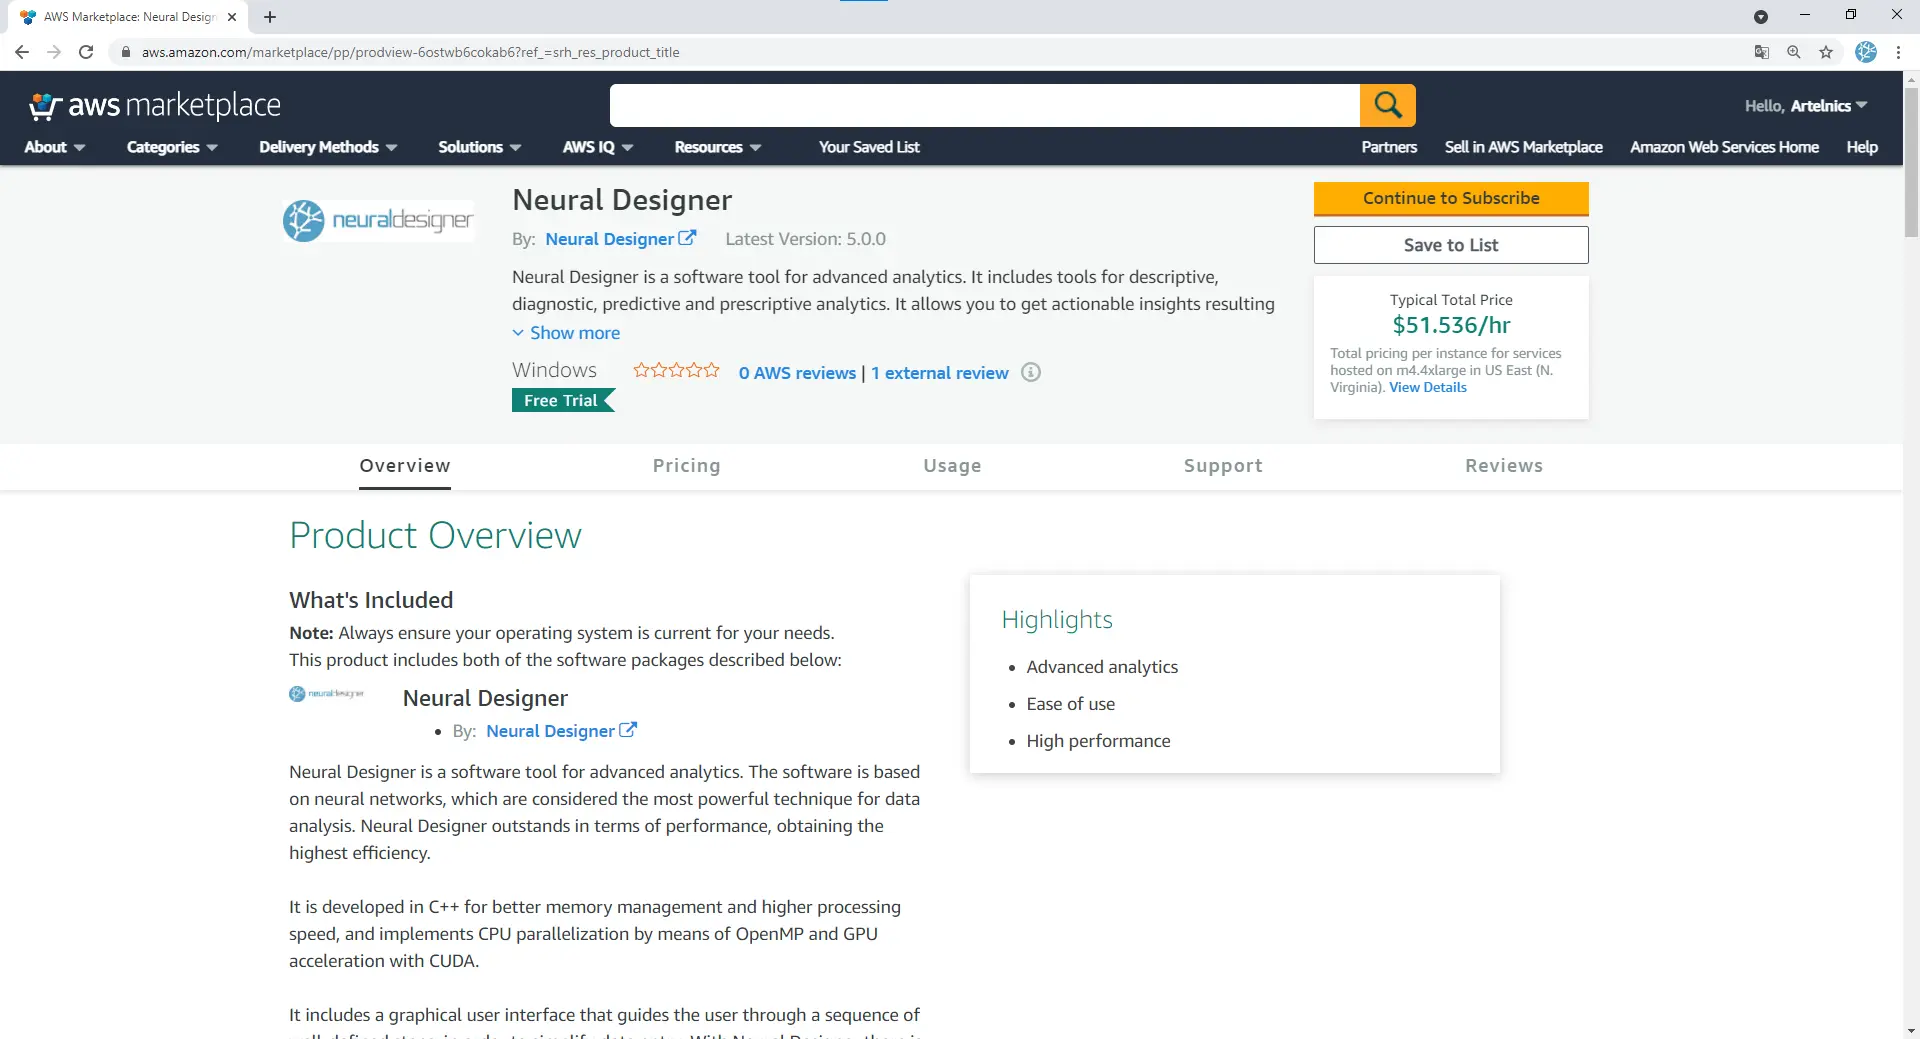
You can see several aspects of the software on this page, such as an overview, pricing information, or tool reviews.
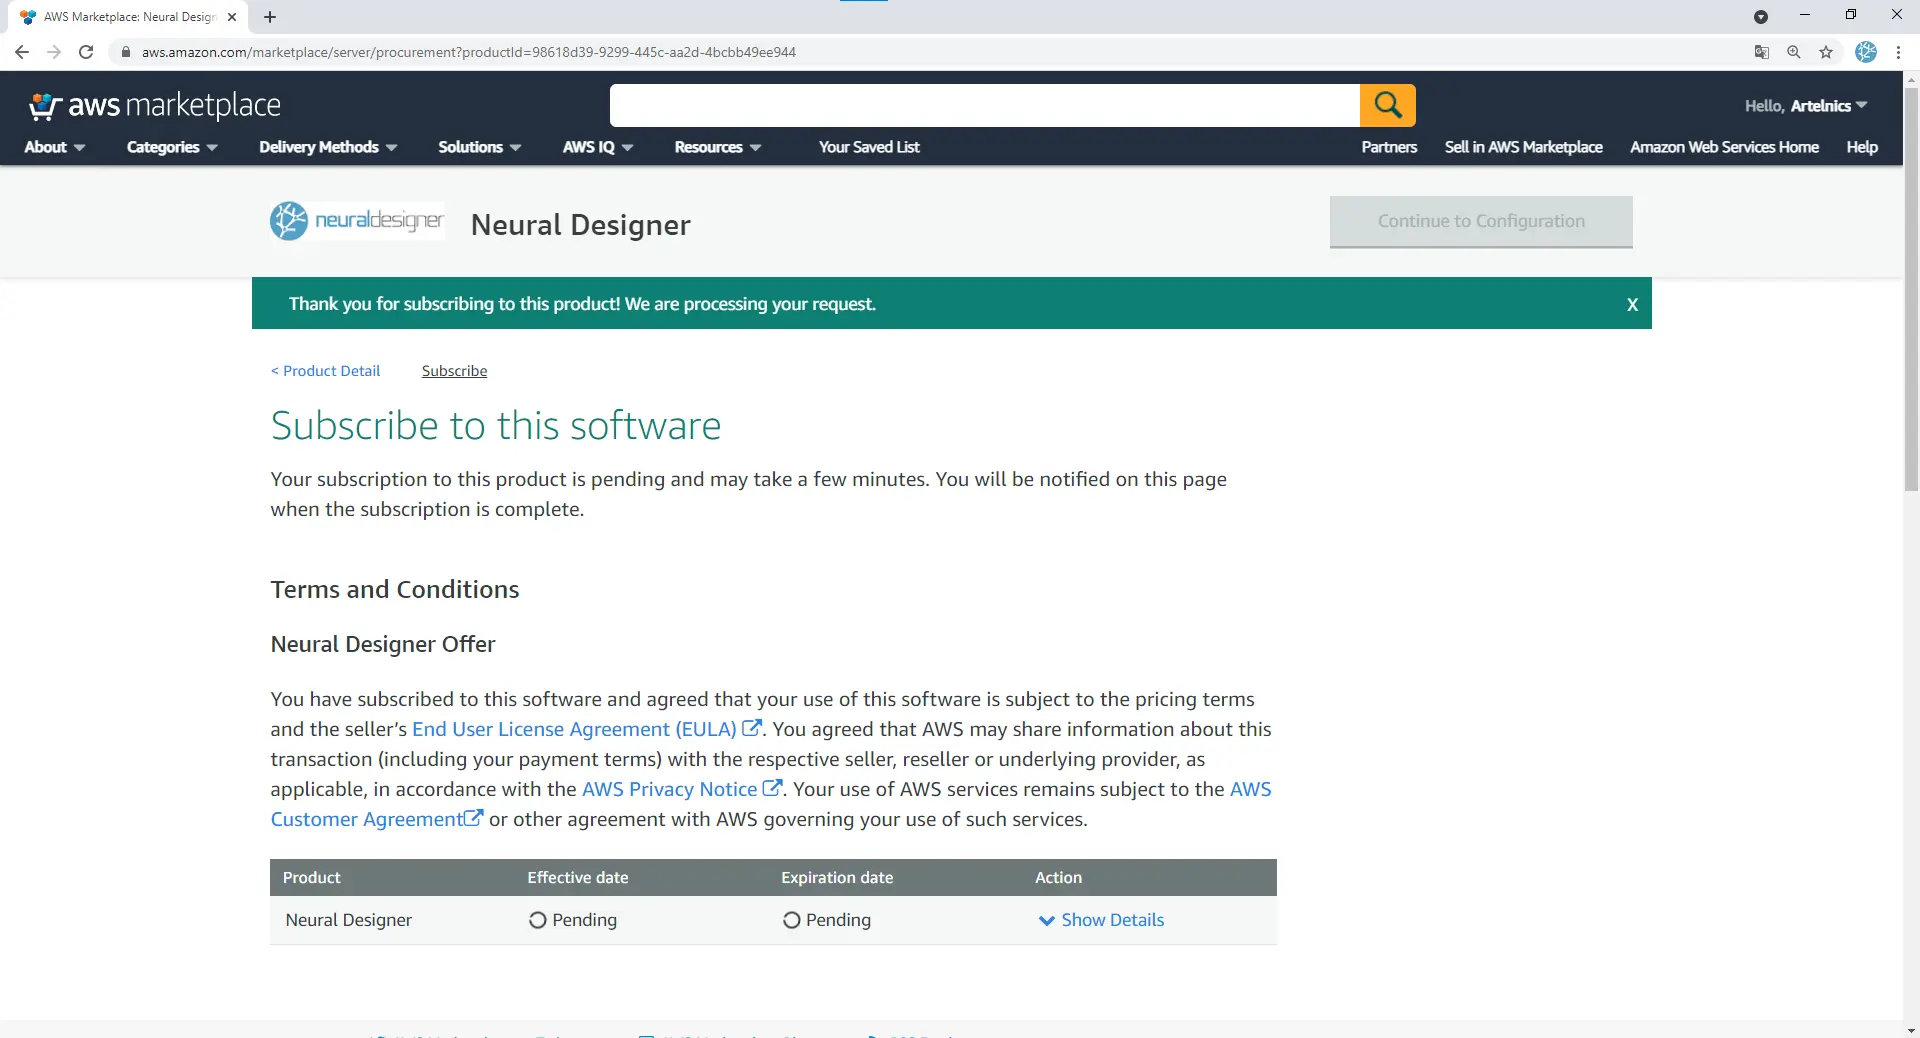
To use the software, click Continue to Subscribe to access the subscription page. Then, accept the terms and conditions and wait for the marketplace to process the information.
The next step is to configure the instance. To do that, click on Continue to Configuration.
Configuring the AWS instance
You must select three options: Delivery Method, Software Version, and Region.
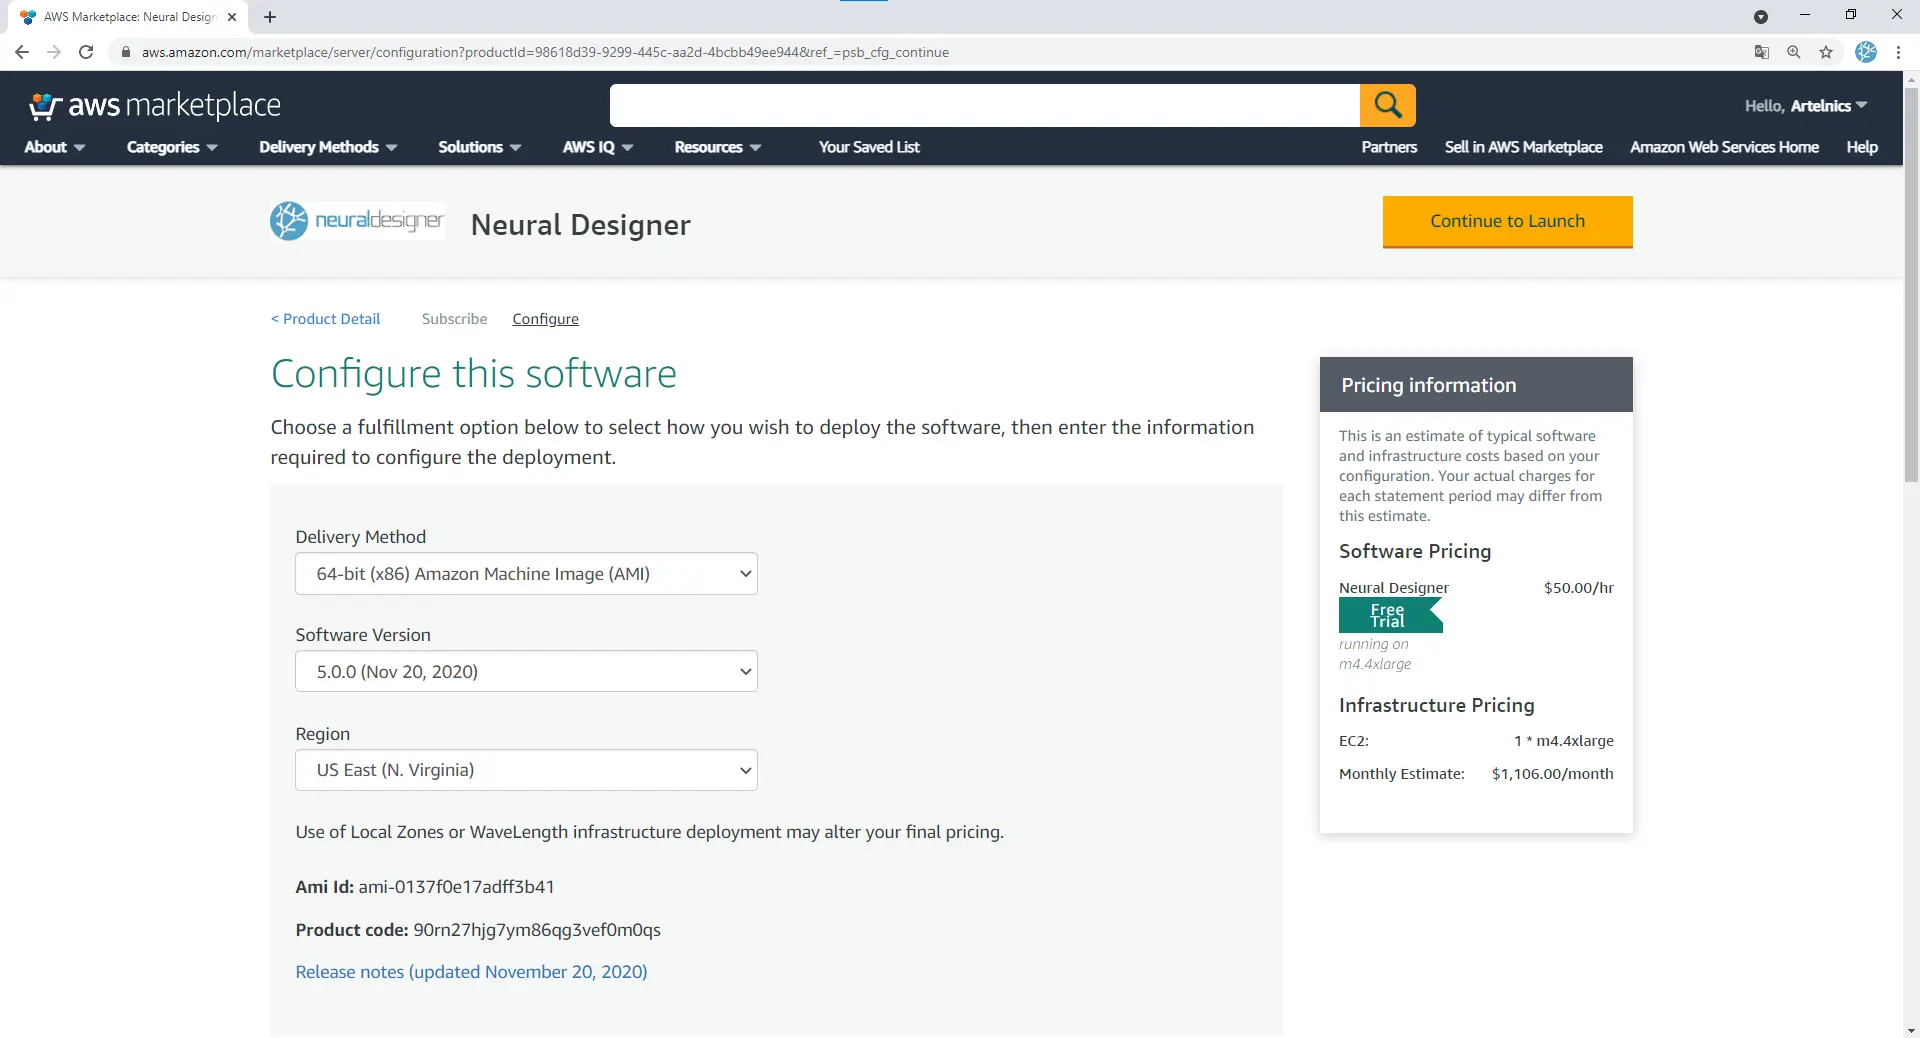
For the first two options, leave the default values, 64-bit (x86) Amazon Machine Image (AMI) and 5.0.0 (Nov 20, 2020), respectively. As for the region, select the one more appropriate for your location. Using US East (N. Virginia) will give you the most instance types to choose from afterward.
After indicating the proper values, click Continue to Launch to carry on to the next step.
You can review the configuration that you previously selected on this page. Besides, you will choose the principal configuration features of the instance that will be launched to use Neural Designer.
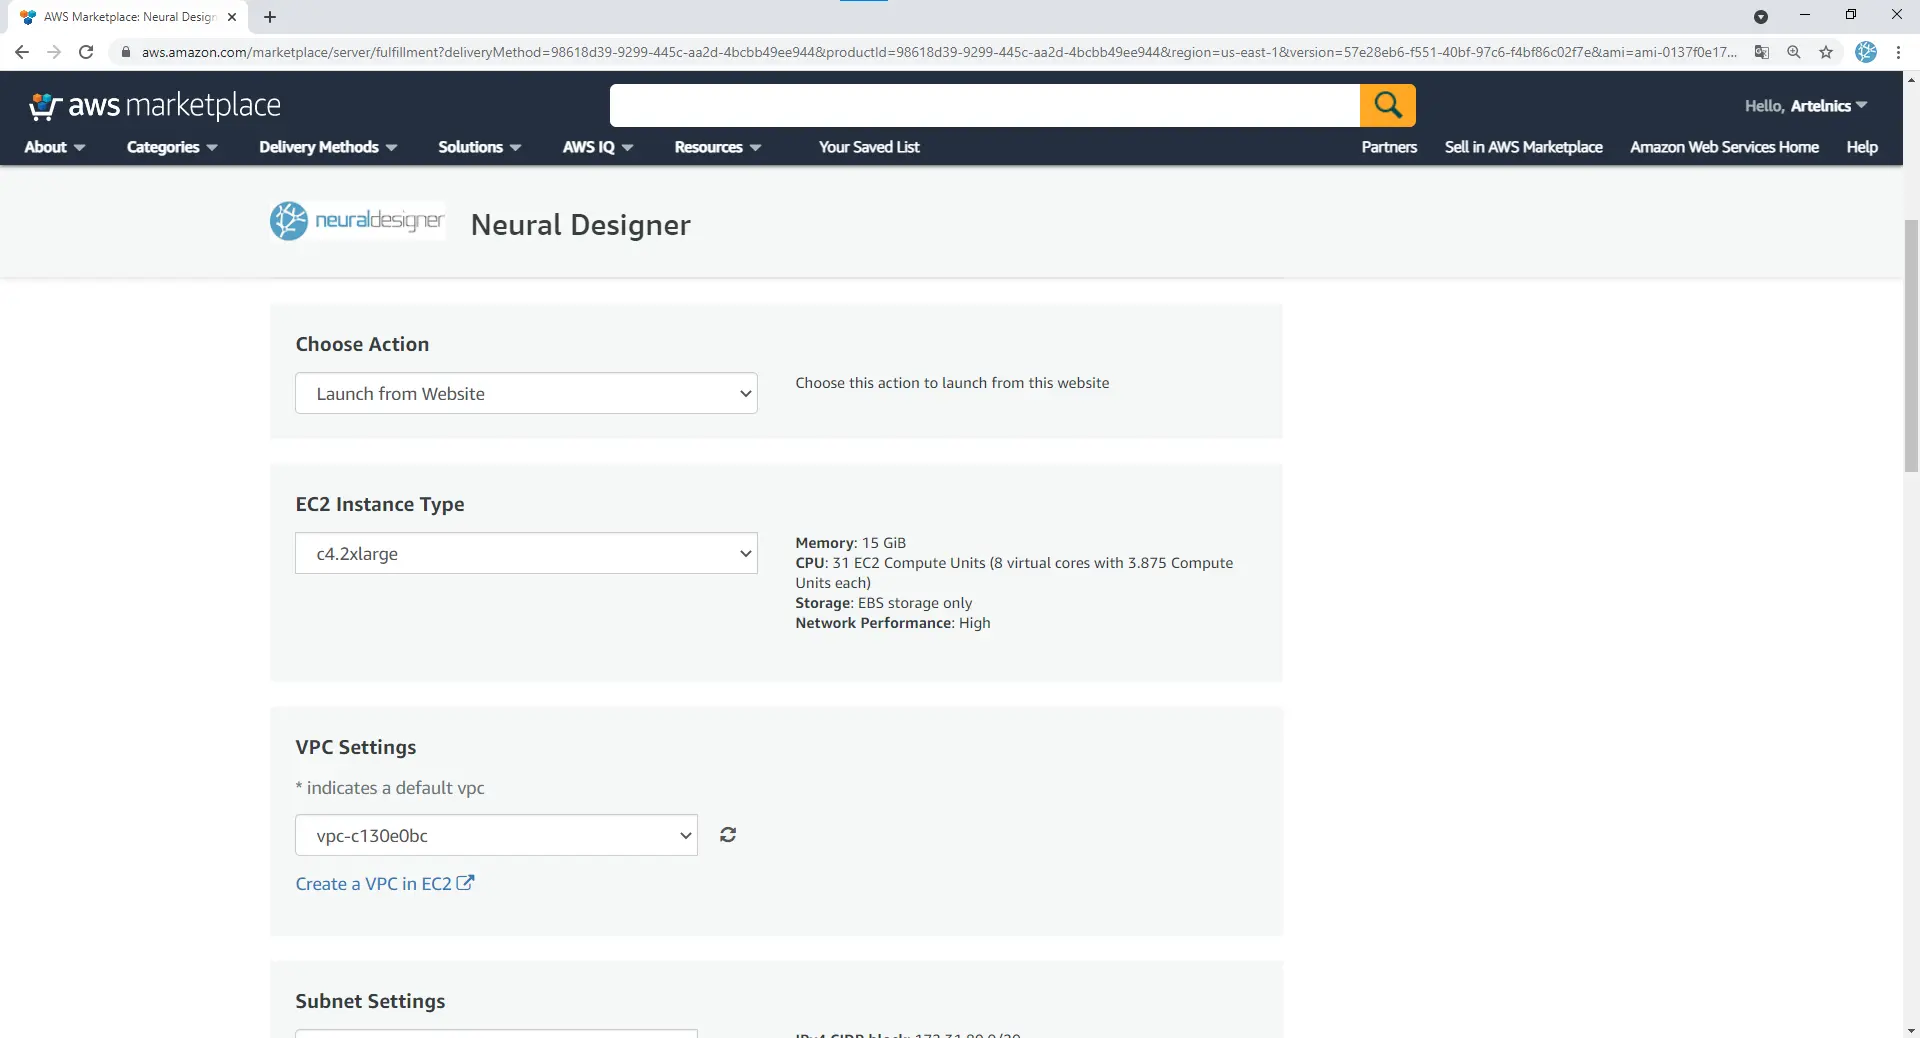
The first one is the Choose Action. Here, we recommend selecting the Launch from Website option. The rest of the tutorial is based on selecting this option. The tutorial follows, assuming you have selected this action. You should only select the other actions available if you are already familiar with the AWS environment.
The next one, EC2 Instance Type, is up to you to select. This option determines the technical features of the machine that Neural Designer will run from. Note that the performance of Neural Designer will also vary depending on your license.
You should leave the default value for the VPC Settings and Subnet Settings.
In the Security Group Settings, it is recommended to click on the Create New Based On Seller Settings button, which will show a simple configuration panel to create a new security group.
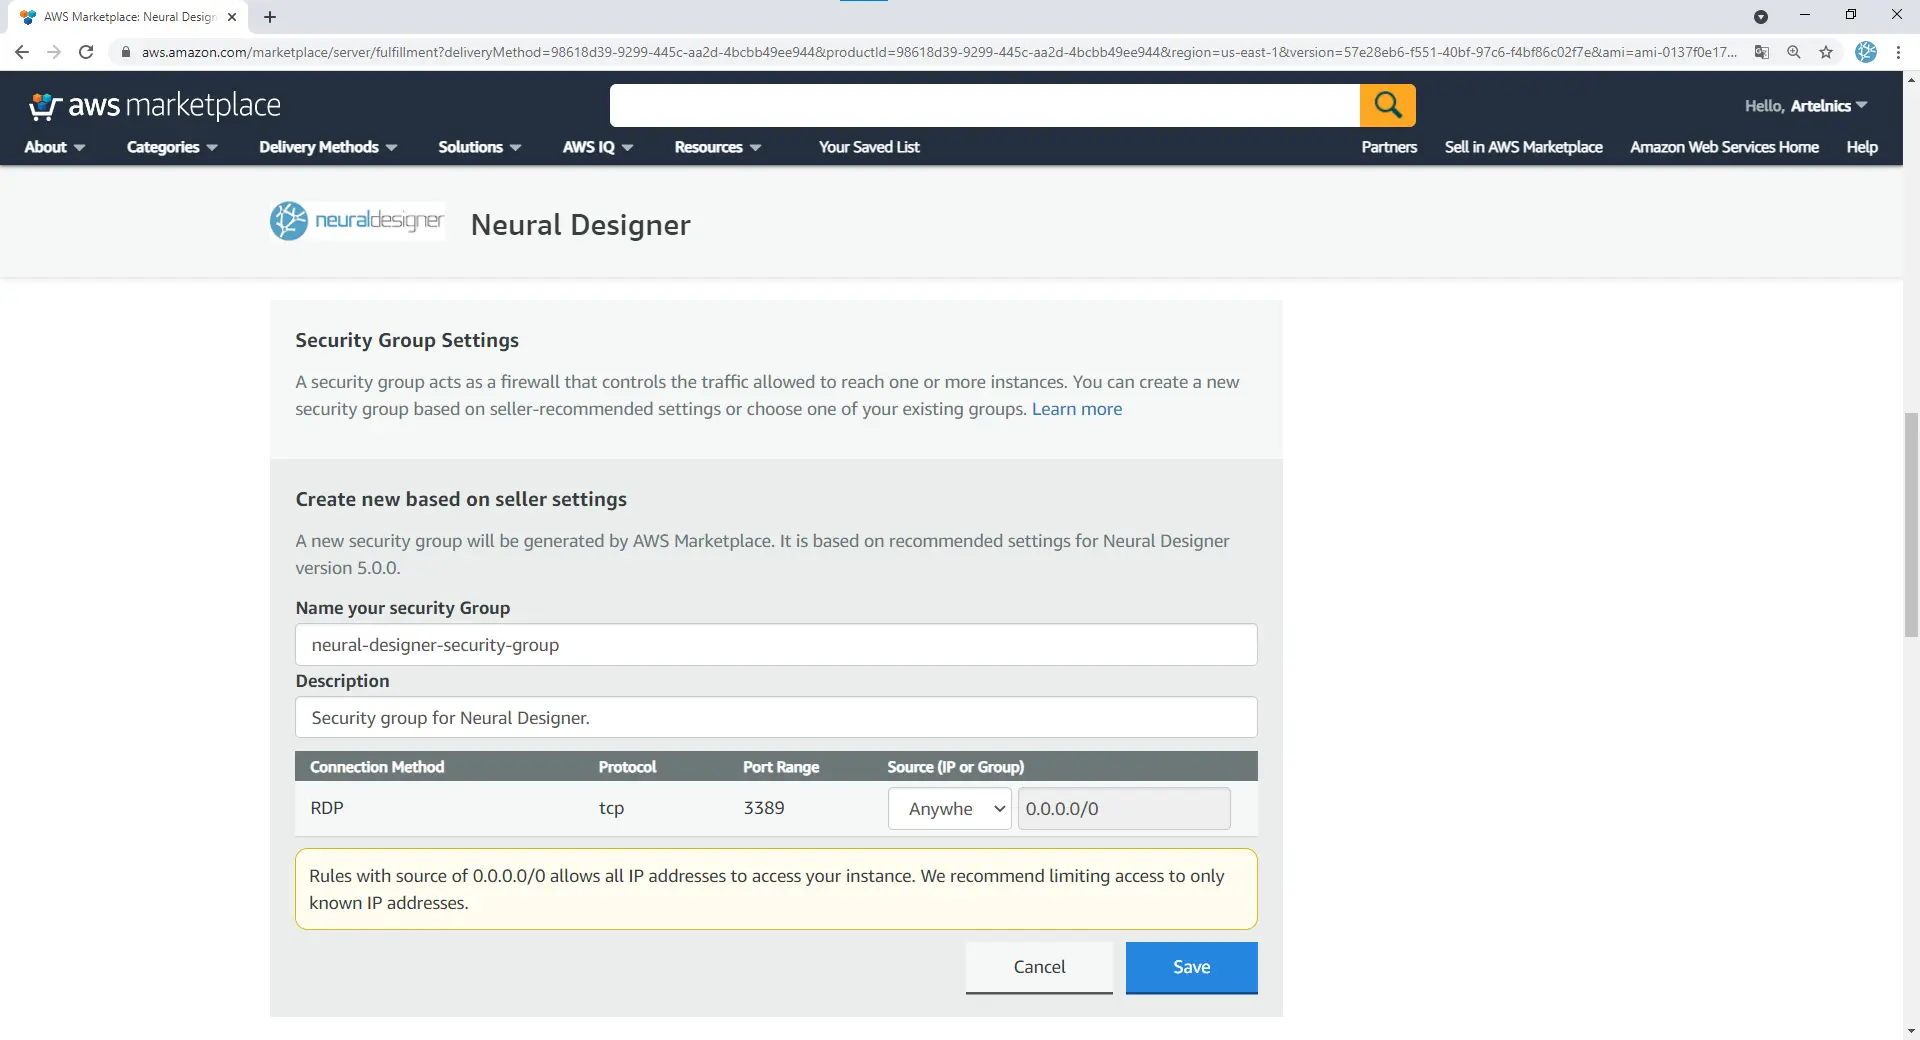
Write a name and description of your choice and configure the source as you want. Click Save, and the security group will be created and automatically selected.
For the Key Par Settings, creating a new key pair for this instance is recommended. To do this, click on the Create a key pair in EC2. Then, the browser will open a new tab in AWS console management displaying your Key pairs.
Click on Create Key Pair, write an appropriate name, choose a key pair type, and select pem format.
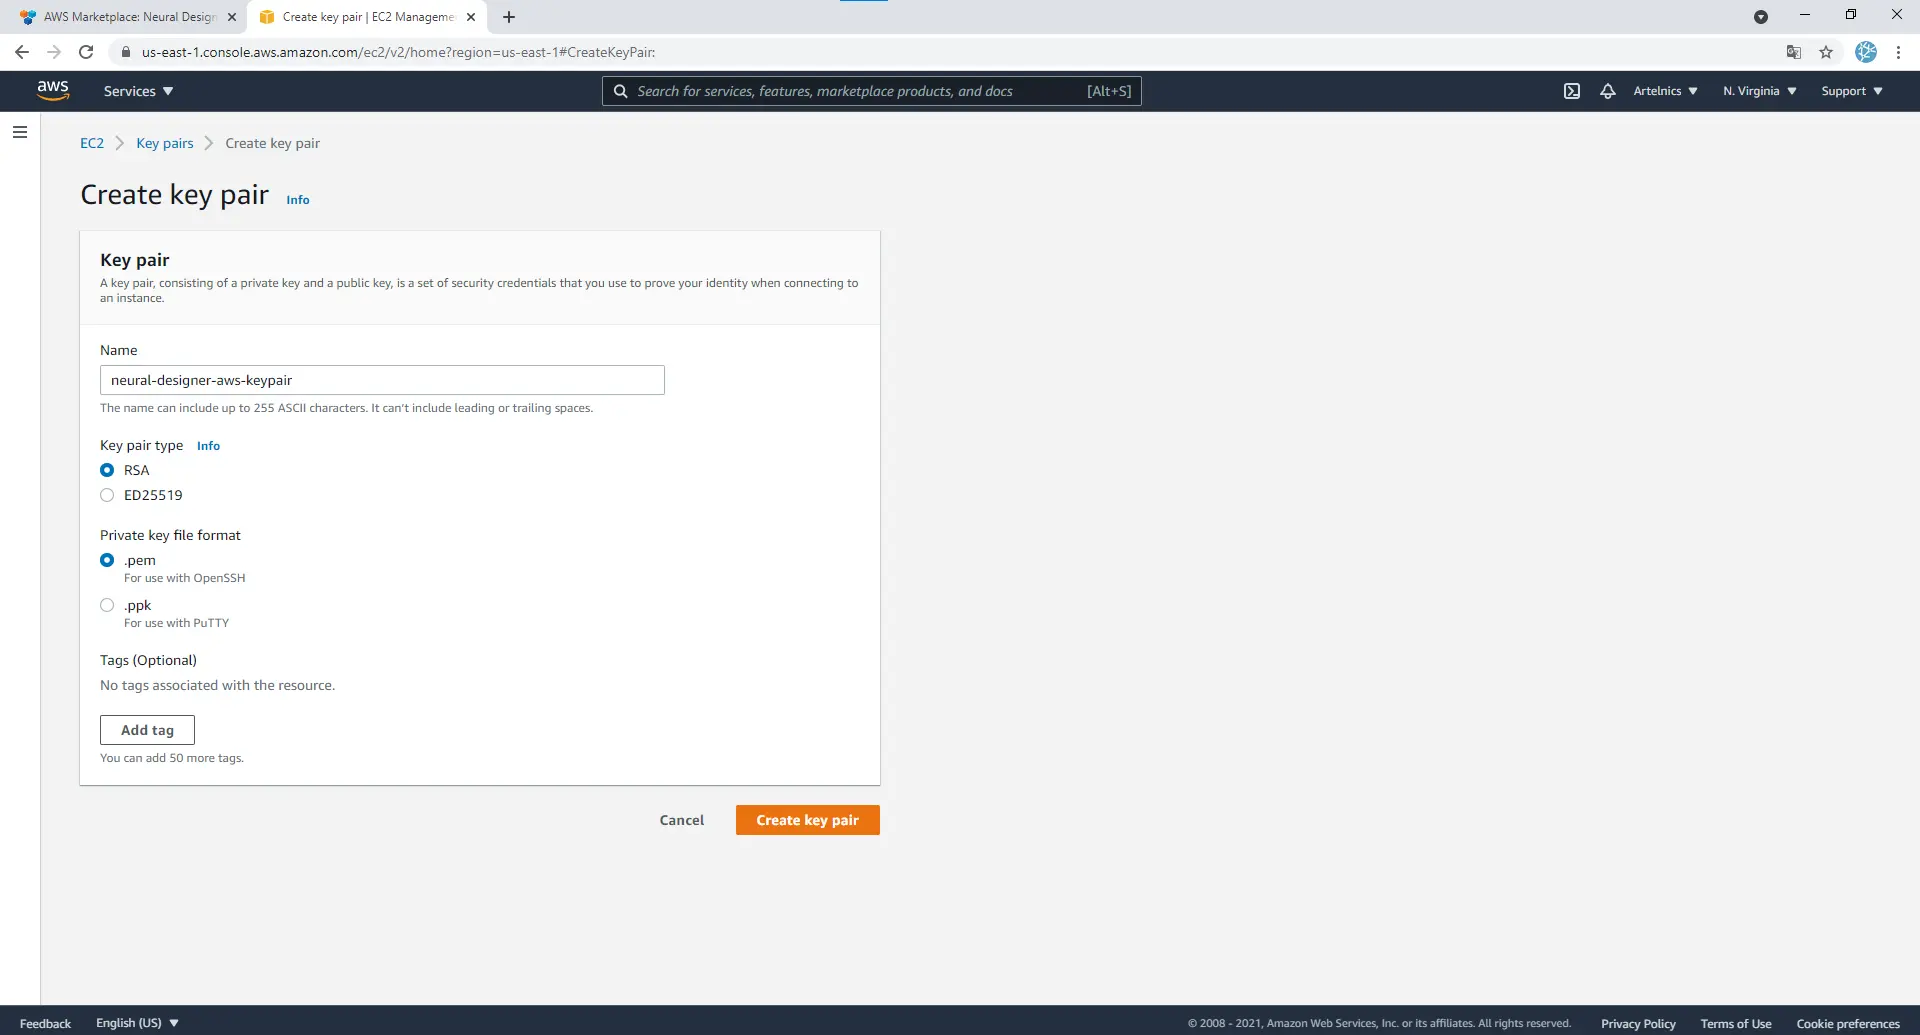
Now, your browser will download the key pair. This file will give you the password to connect to the machine, so save it in a known directory.
After creating the key pair, return to the launch configuration page. Refresh the key pair settings by clicking the right arrows, select the one you have just created, and finally, click Launch to proceed with the launch configuration.
Launching the Neural Designer instance
A review page will appear to check all your configuration details.
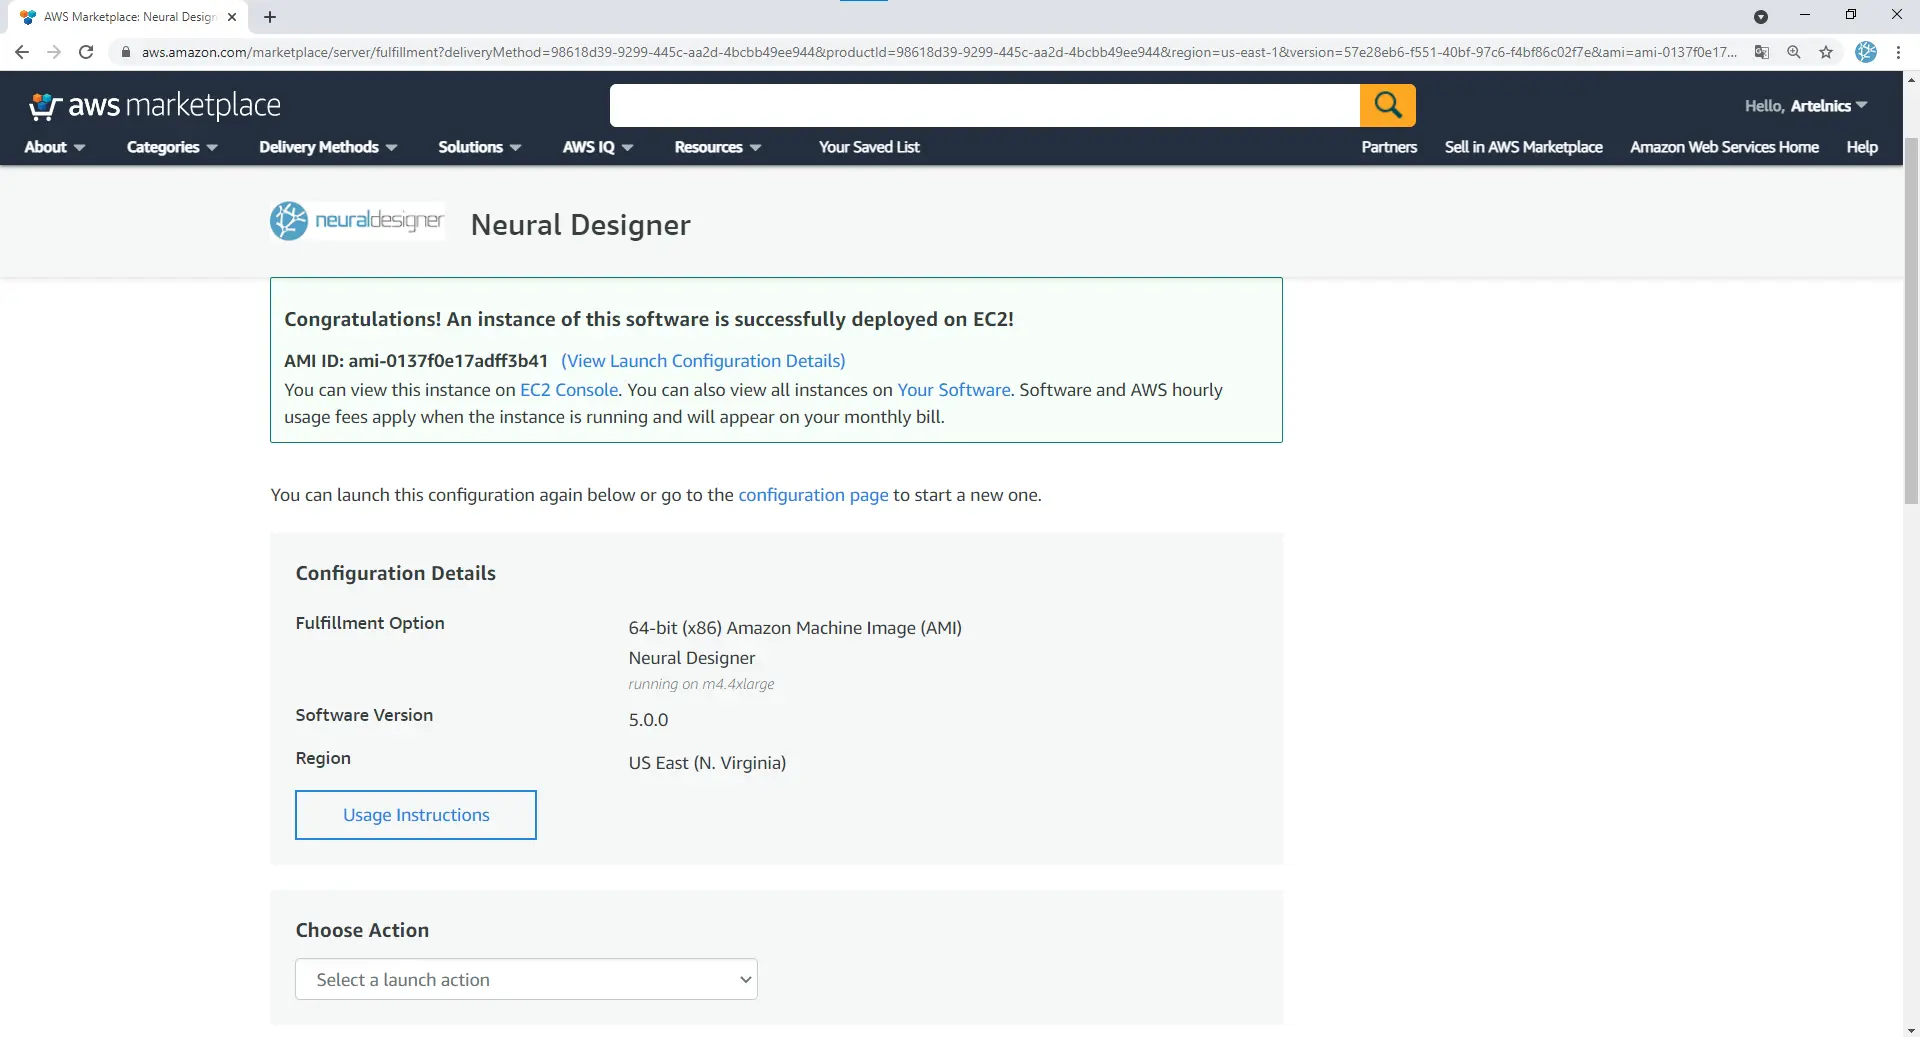
To view this instance, click the EC2 Console link to access your Instances or sign in to AWS Management Console.
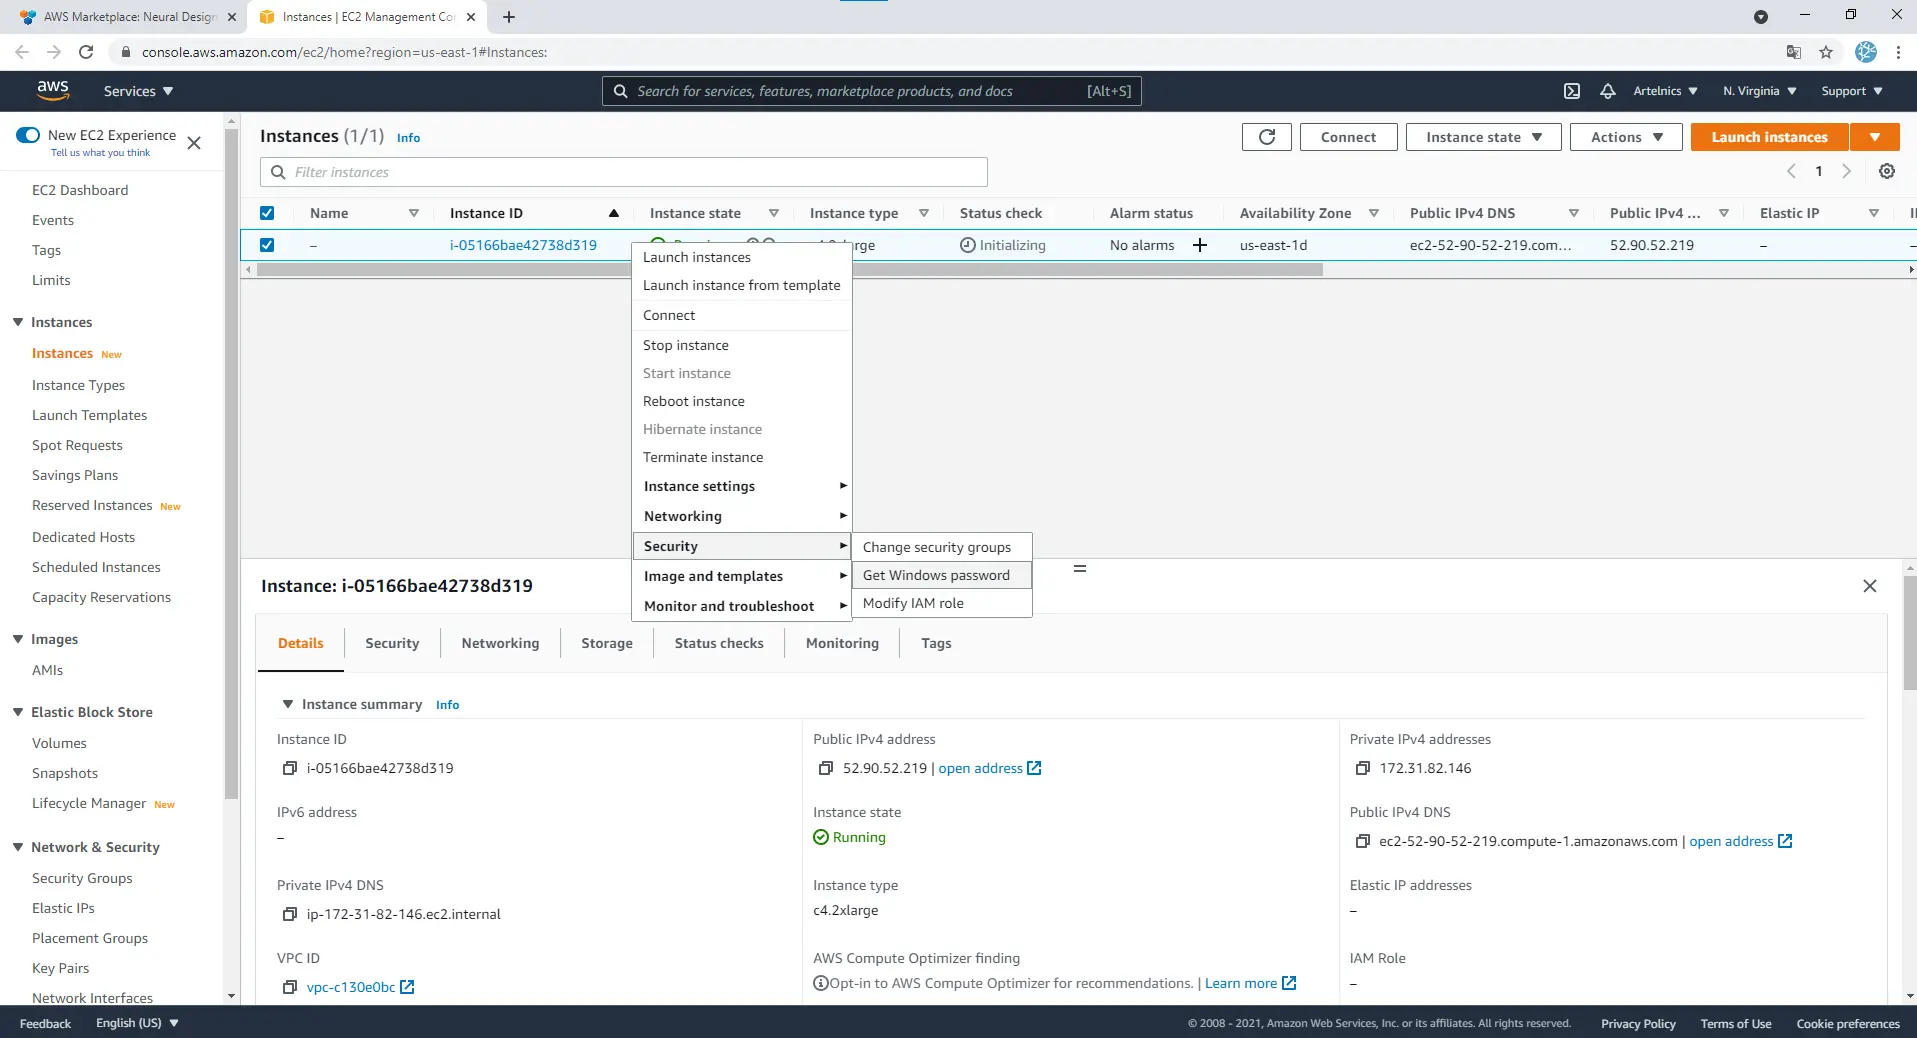
You can use the software now that you have configured the Neural Designer instance. Before running the machine, you must get the password to access the machine. To do this, right-click on the instance and click Get Windows Password.
The next panel will appear. Note that you may need to wait a few minutes.
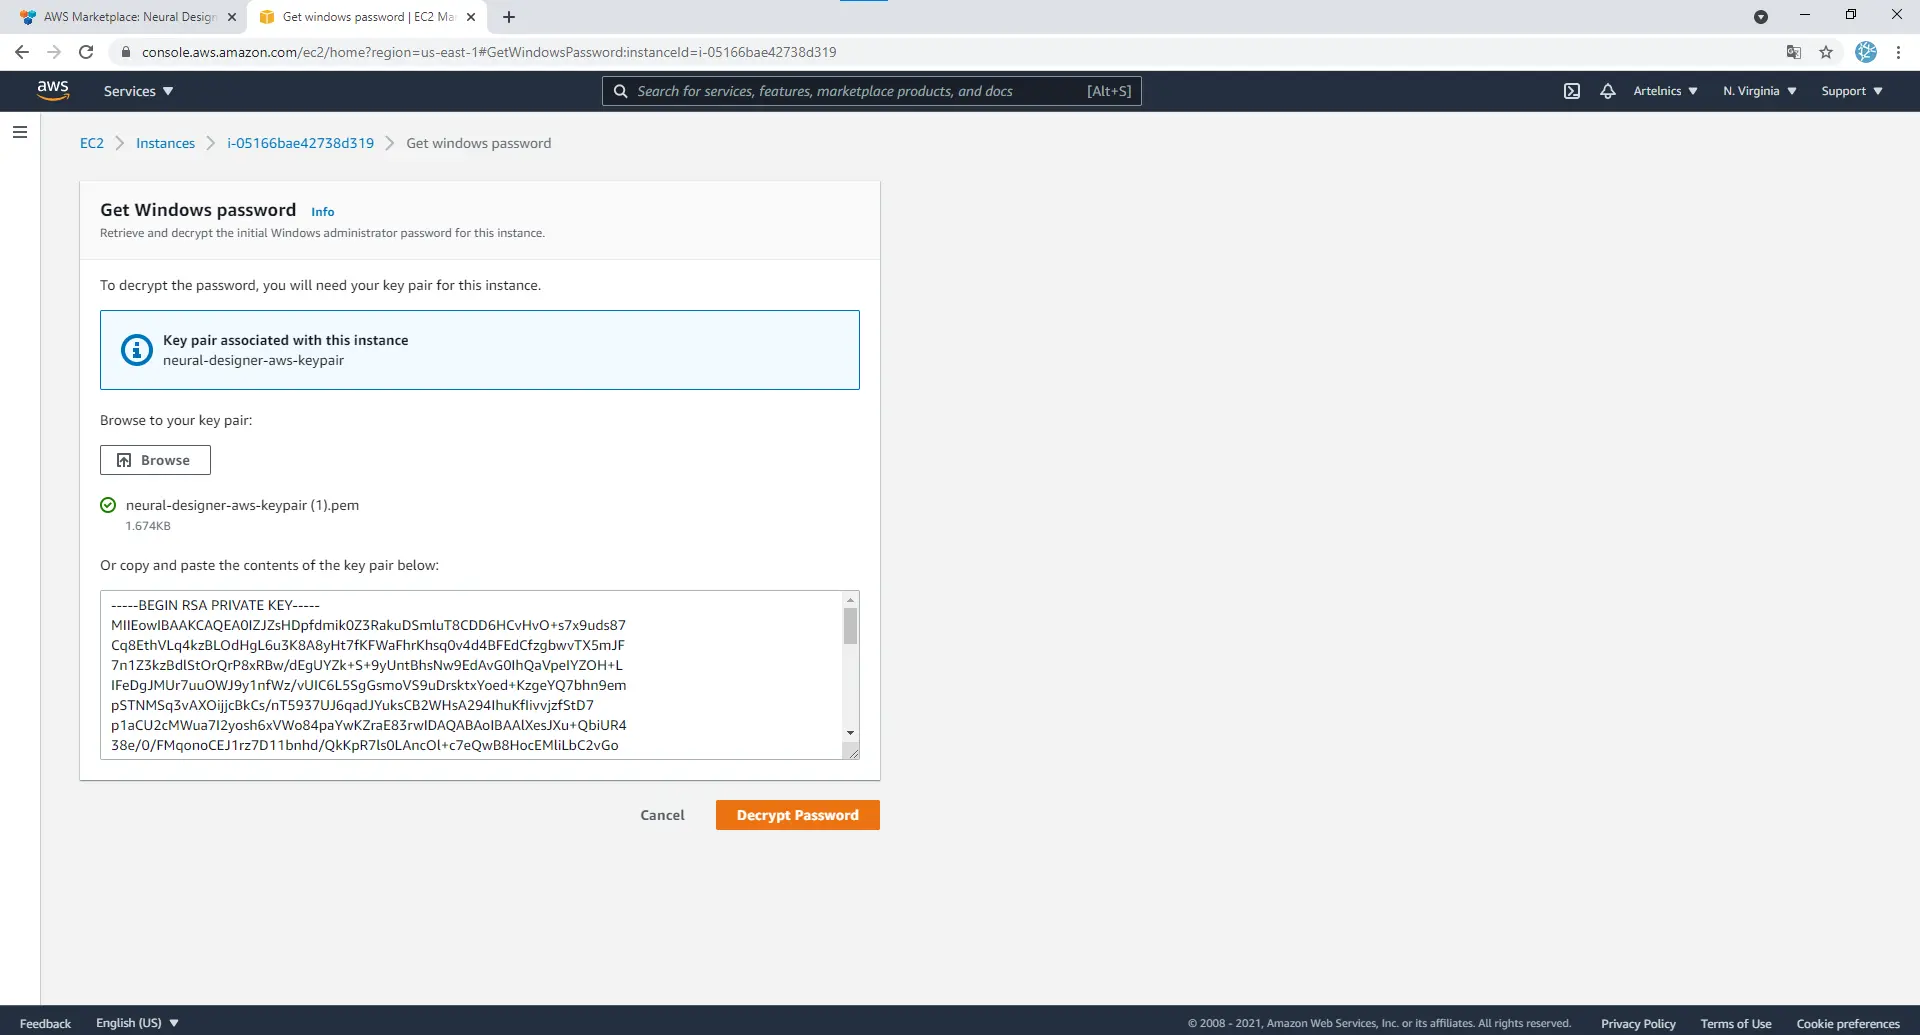
You must select the PEM file previously downloaded to your computer when creating the key pair. Click on Decrypt Password to get your password. A window with the information to access the machine will be displayed. Make sure you copy the Windows password and then click Close.
Now, you can connect to your machine with Neural Designer. To do this, in your Instances page, right-click on this instance and click Connect.

This window gives you the information needed to connect to the AWS machine that will run Neural Designer. Firstly, choose the RDP client option. Following the same procedure, you might obtain the password from here if you have not done so before. Do not forget to copy the password.
To use the machine, you will need a remote desktop client. Typically, every operative system has one installed.
Click on Download Remote Desktop File. Running the file you downloaded, associated with your computer’s remote desktop client, will establish the connection with the AWS machine.
As for the password, paste the one you got before and wait while the machine starts. After that, you will see direct access to the Neural Designer software on the desktop.
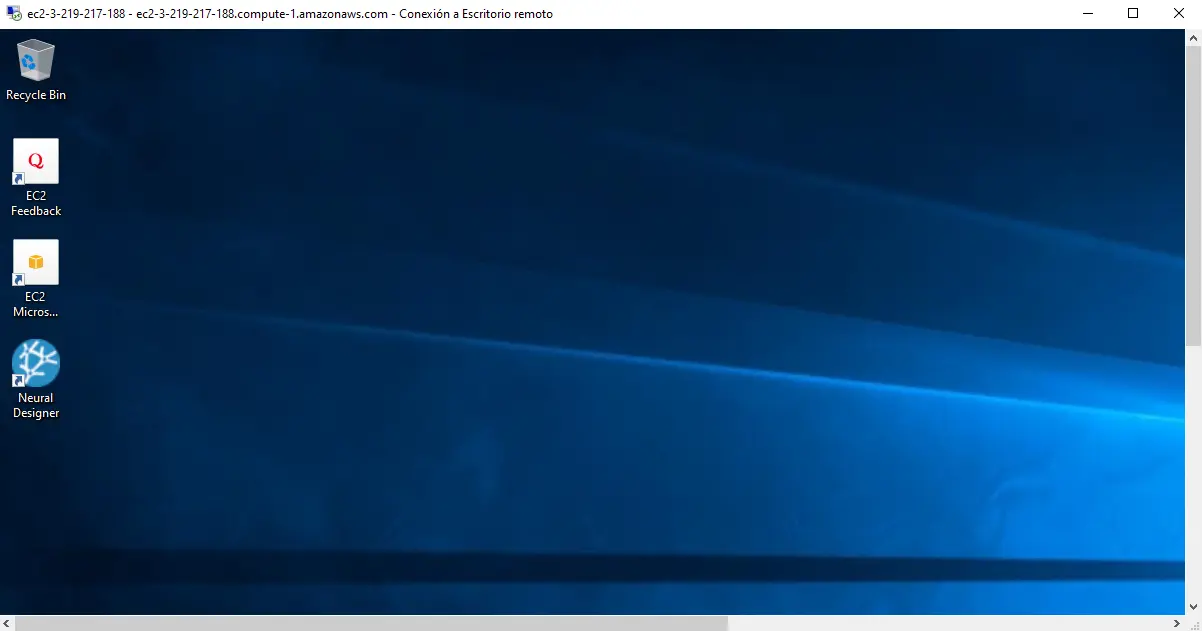
Finally, click Neural Designer and enter your credentials to build your machine learning models.
Do not hesitate to contact us with any questions during the launching process.
Check our other resources to learn how to get the most out of Neural Designer:
Neural Designer Examples